The application of rubber roofing functions as both affordable and robust protection
for residential structures as well as outdoor sheds along with commercial buildings.
The material operates for multiple decades while keeping leaks at bay along with its
user-friendly installation features. To install rubber roofing by yourself you should
follow these nine easy steps which will yield a durable waterproof roof system.

Step 1: Gather Your Tools and Materials
Ensure that you have all the required materials before starting the roofing project.
Rubber roofing membrane (Euroshield)
Roofing adhesive
Roller brush
Utility knife
Measuring tape
Chalk line
Roofing seam tape
Silicone roller
Safety gear (gloves, knee pads, and goggles)
The preparation of all necessary tools will create a smoother and faster work process.
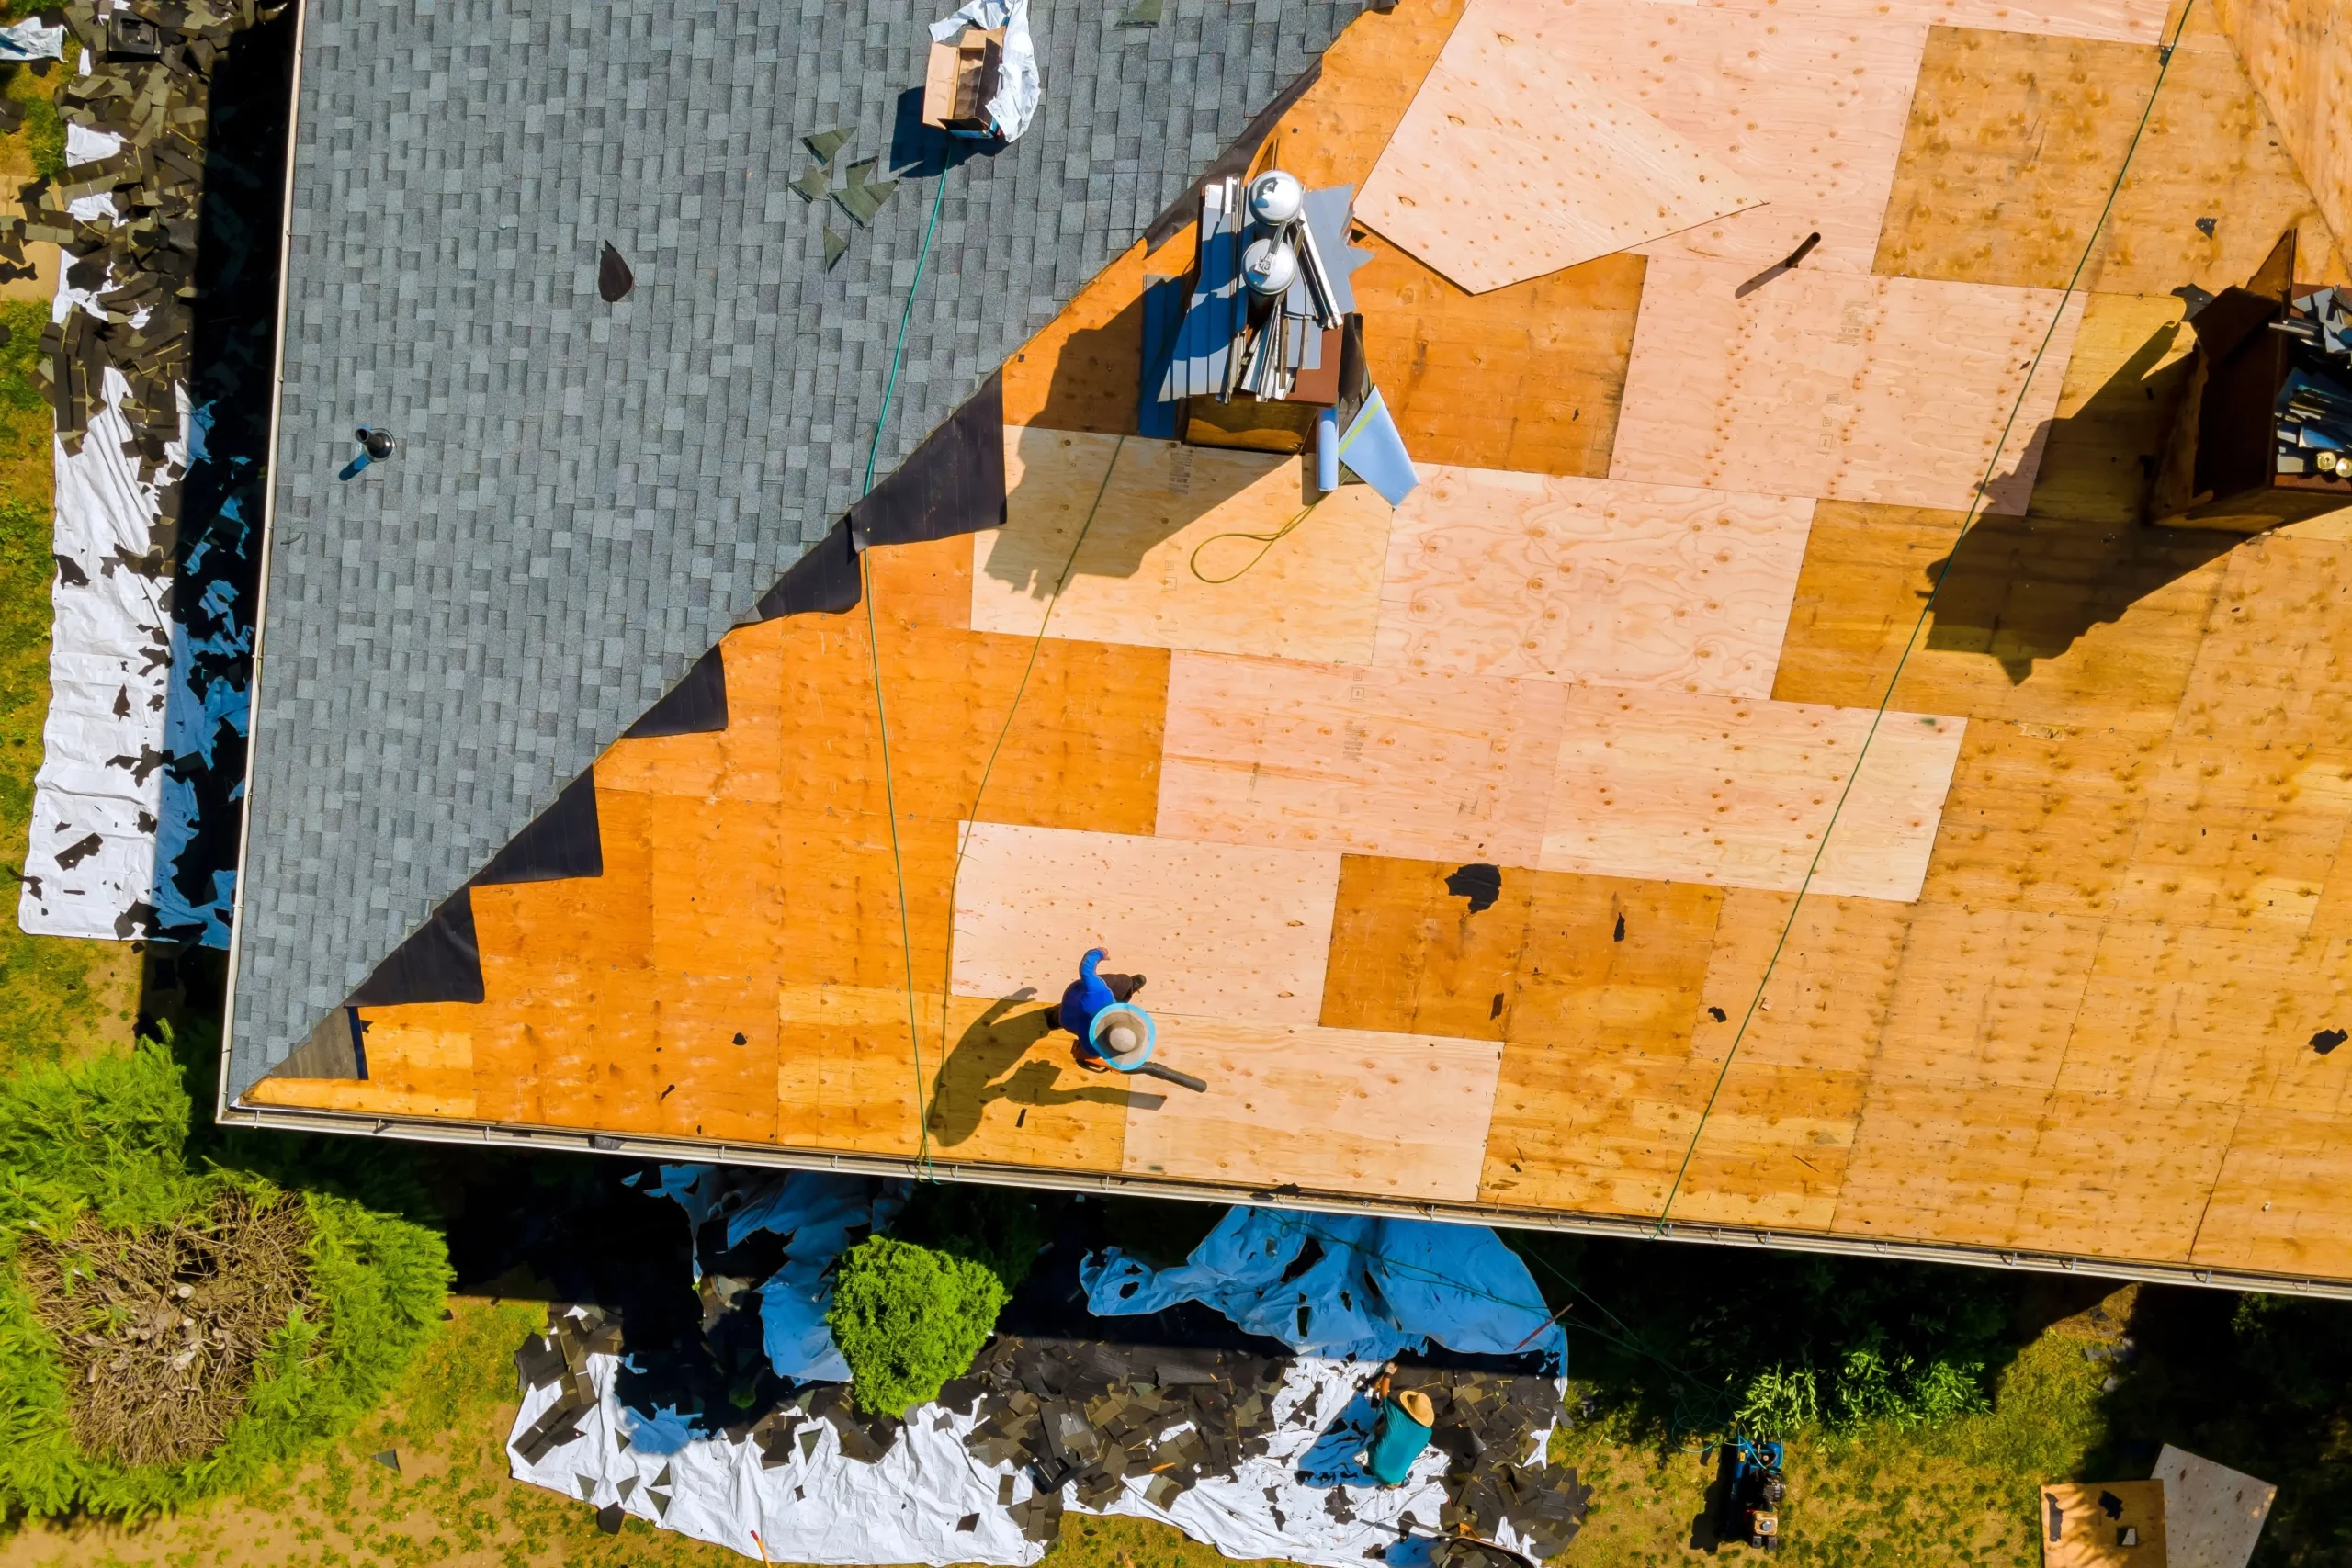
Step 2: Prepare the Roof Surface
A clear dry roof surface serves as a mandatory condition for proper adhesive bonding.
To start properly you must first remove all old roofing materials and dirt and debris
from the surface. You should utilize a broom linked with a blower to finish your
cleaning operations. Before continuing with the job you need to fix any holes or cracks
that exist on your roof.
Step 3: Measure and Cut the Rubber Roofing
The rubber roofing membrane should be unrolled before being left in place for a
30-minute duration. Placing it on an area for 30 minutes relieves the membrane
and eliminates wrinkles. Measure the necessary dimensions first and make
precise cuts through the membrane with a utility knife.
When cutting the rubber roofing material allow for excess material since it might
eventually need adjustments.
Step 4: Apply the Adhesive
Place the rubber membrane aside then begin applying adhesive onto the roof surface.
The roller brush should be used to achieve smooth adhesive coverage. The membrane
requires a waiting time of a few minutes until it develops a sticky texture.
Place the rubber membrane carefully on top of the adhesive before applying pressure
while smoothing the material. Phase the second part of the rubber membrane application
with its corresponding adhesive treatment.
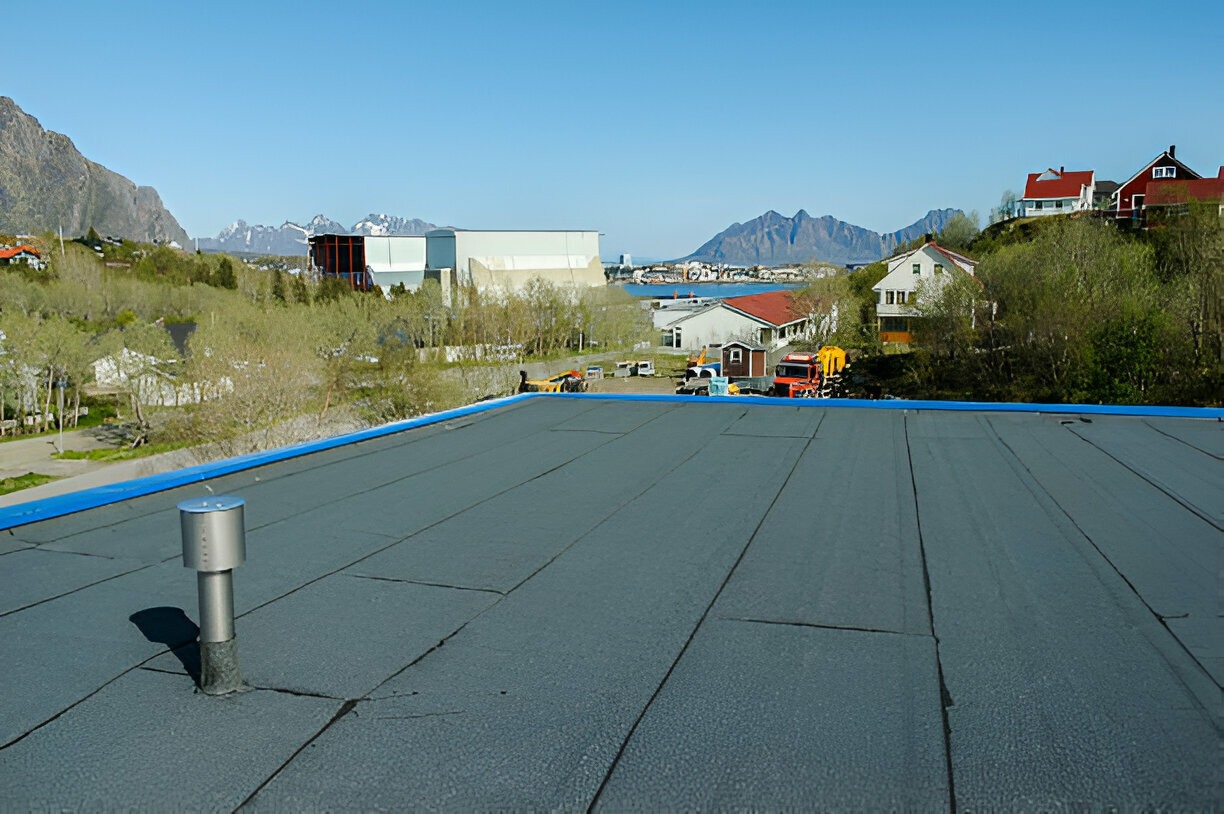
Step 5: Smooth Out the Membrane
A broom alongside a silicone roller must be used to remove air bubbles while properly
adhering to the membrane. Place the center first and continue installing the rubber
membrane toward the edges. The application method ensures the prevention of
wrinkles and air pockets formation.

Step 6: Seal the Edges and Seams
The edges along with seams should receive waterproofing application using roofing
seam tape that requires pressing down with a silicone roller to achieve maximum bond
strength. A silicone roller needs to be used to apply steady pressure on the
adhesive to create an effective bond.
A tiny amount of roofing adhesive should be applied to the edges to stop the roof from
peeling off.
Step 7: Trim the Excess Rubber Roofing
First, cut off all excess rubber components by using a well-sharpened utility knife near
the edges. Precision when performing this step will create both a tidy and professional
look.
Step 8: Secure Flashing and Drainage
To protect roof chimneys drains and vents use an additional rubber membrane
covered with adhesive for the installation of the flashing. The process of using adhesive
along water pooling areas functions as a leak prevention method.
Step 9: Inspect and Let It Cure
Observe your work from different angles to conduct an inspection. Examine both
edges of the rubber as well as look for bubbles or gaps that could appear. Seal up all
areas that require additional attention.
Let 24 hours of adhesive curing happen before putting the roof under heavy rainfall or
people moving across it.
Final Thoughts
You can perform an easy rubber roofing installation yourself to save money and obtain
several years of roof protection. Our construction company provides professional assistance to those who need it.