Introduction
The cornerstone of any roofing structure functions as
an essential component since it prevents water from
entering houses. (roof flashing)
The appropriate placement of flashing stops leaks that
damage both roofs while maintaining their extended
lifespans. Using the most effective flashing methods
is vital for both new roof construction and existing roof
maintenance.

What is Roof Flashing?
Thin waterproof materials called roof flashing exist to
provide joint protection from water intrusion in vulnerable
roofing areas. Property owners install flashing as strips
along chimneys as well as skylights and vents and at roof
edges. The primary goal of flashing is to redirect water
drainage so building structures avoid water damage.
Types of Flashing Techniques
Professional roofers employ various flashing approaches
to prevent water from damaging your house. The most
common types of flashing can be examined through closer
observation.
Step Flashing
Step flashing functions primarily as an active water barrier
covering the wall and chimney edges. The individual metal
pieces of this technique overlap to create a water-dripping the
structure that protects the wall-to-roof joints from water
penetration.
Continuous Flashing
Continuous flashing represents an extended piece of metal
that runs from end to end on the roof-to-wall seam. Metal
professionals employ this method to maintain a steady
protection area against moisture leakage.
Counter Flashing
The procedure requires adding flashing units above existing
step flashing systems. Step flashing, combined with this
method, forms a secondary protective system that protects
joints from water intrusion.
Roof-to-Wall Flashing
When a roof touches either a wall or parapet the correct
solution becomes roof-to-wall flashing. Water has no access
to penetrate the area where the roof and wall meet.

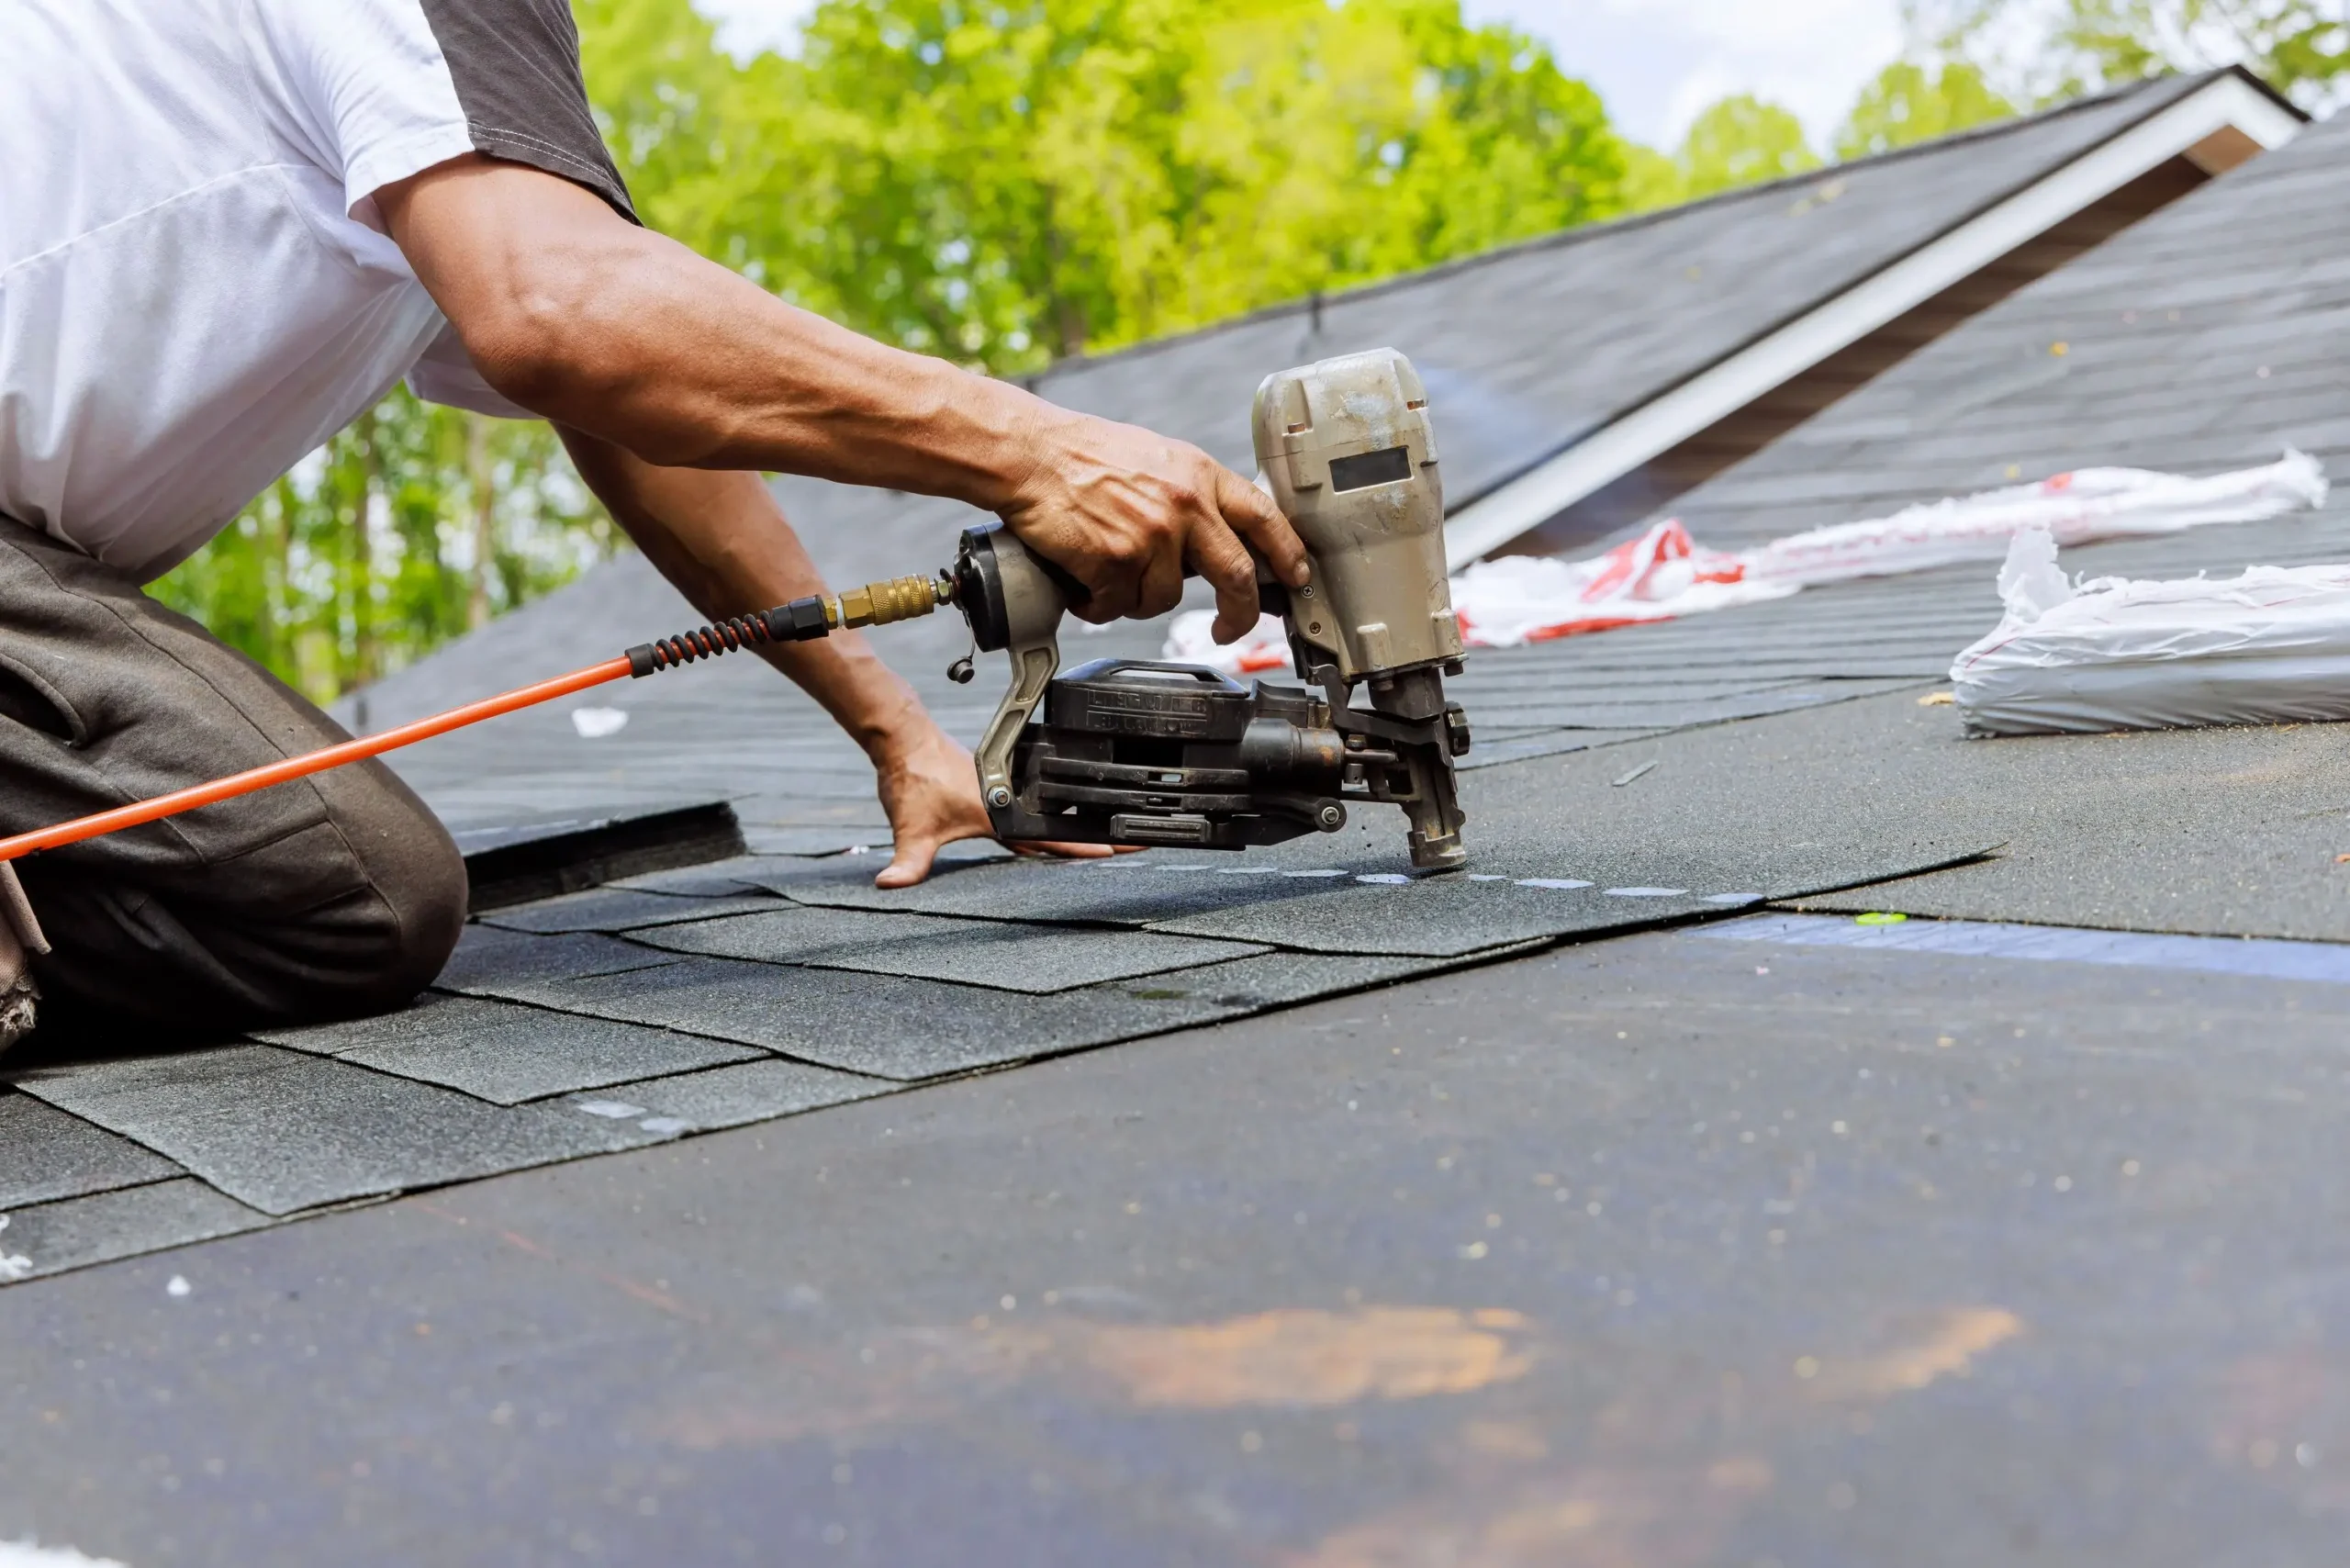
How to Install Roof Flashing Properly
Correct flashing installation stands as the primary requirement
for achieving successful performance of installation points.
This Guide provides all the necessary steps for installing a roof
flashing:
Prepare the Surface
Starting the flashing installation requires the establishment
of clean and dry roof and wall surfaces.
Install Base Flashing
Base flashing should be installed at the roof edge where it
needs to overlap the existing roofing material or shingles.
Apply Step Flashing
Step flashing should be used on chimneys and vents to achieve
overlapping pieces that secure each installment.
Install Counter Flashing
The installation process requires counter flashing to go on top
of step flashing.
Seal the Edges
You should employ a superior roofing sealant when sealing
both flashing borders and assembly points.

Roofing Tips for AdequateFlashing
The following roof flashing guidelines should be remembered
in roof repair work:
Choose Durable Materials
Selecting aluminum copper or galvanized steel as flashing
materials stand as your best option because of their high
durability. The chosen materials maintain their durability as
well as their capacity to withstand corrosion.
Check for Gaps or Cracks
A thorough inspection of roof flashing must happen regularly
to confirm neither holes nor missing pieces nor any signs of
damage is present.
Properly Seal Joints
All joints need proper sealing by using roofing cement and
caulk for waterproofing. Water infiltration will be stopped by
proper sealing methods.
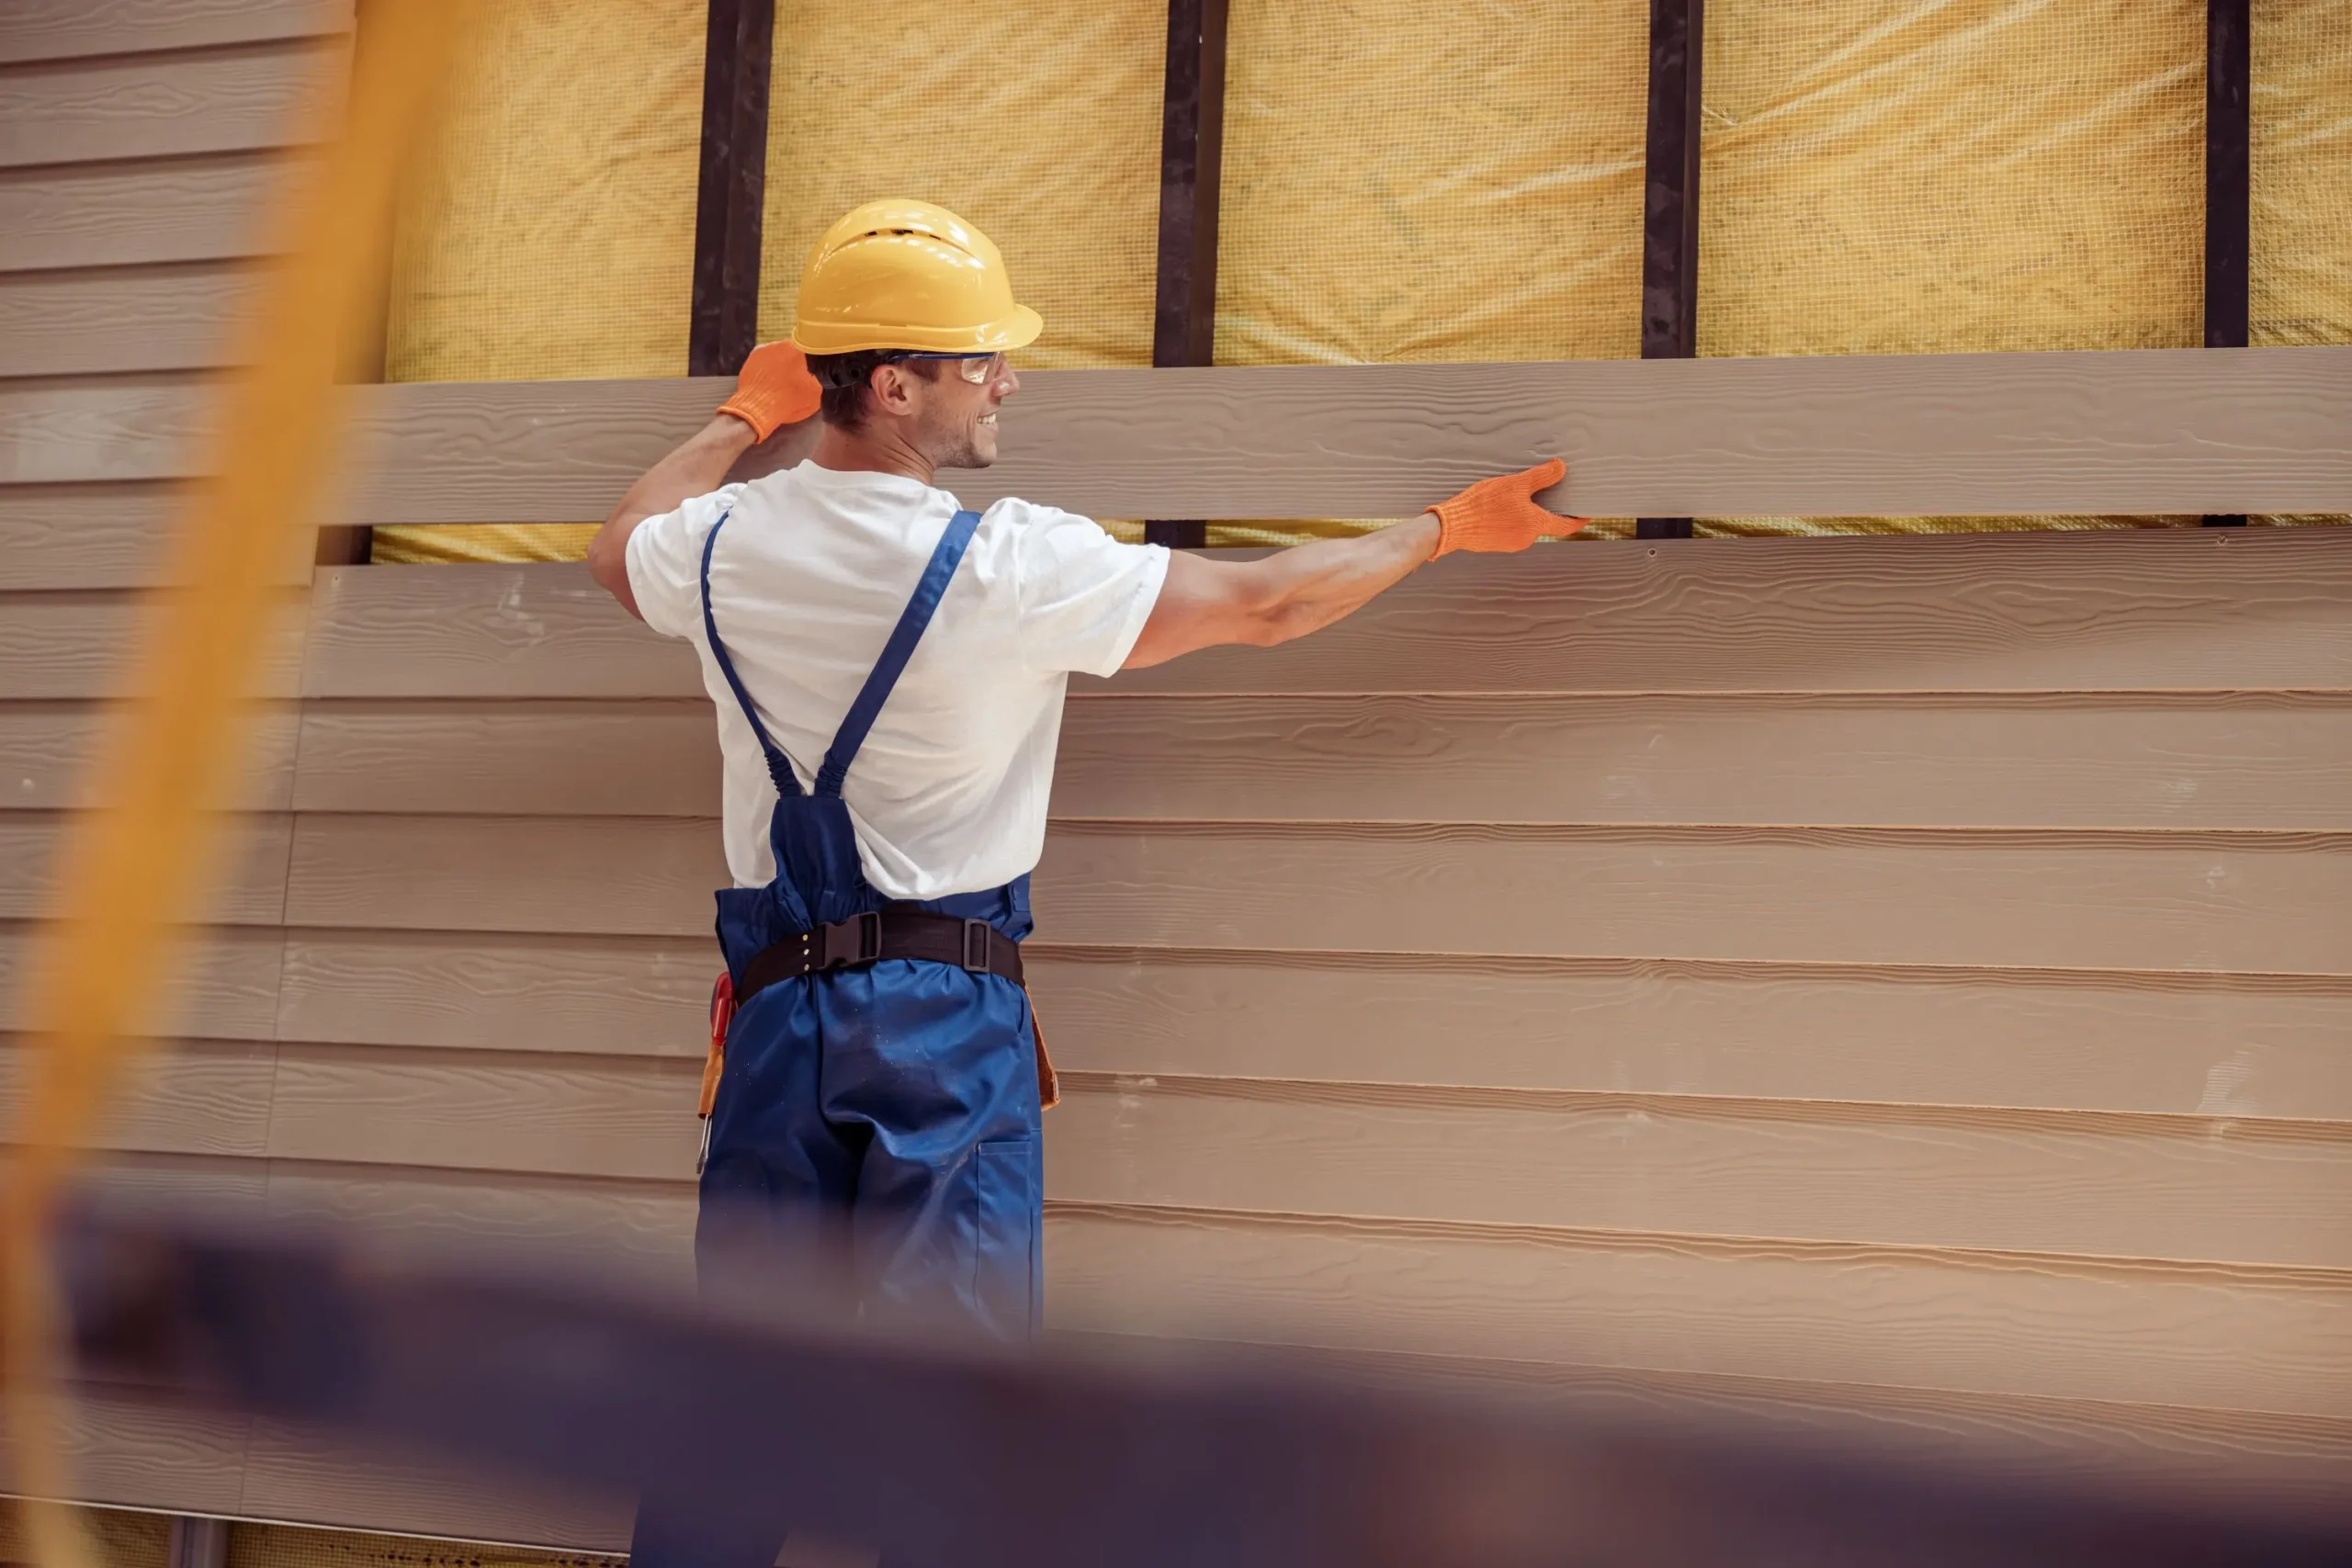
Consider Professional Installation
Never hesitate to call a professional roofer whenever you feel
doubtful about performing a flashing installation. Improper
installation methods will trigger leaking that produces severe
damage to roofs as well as houses.

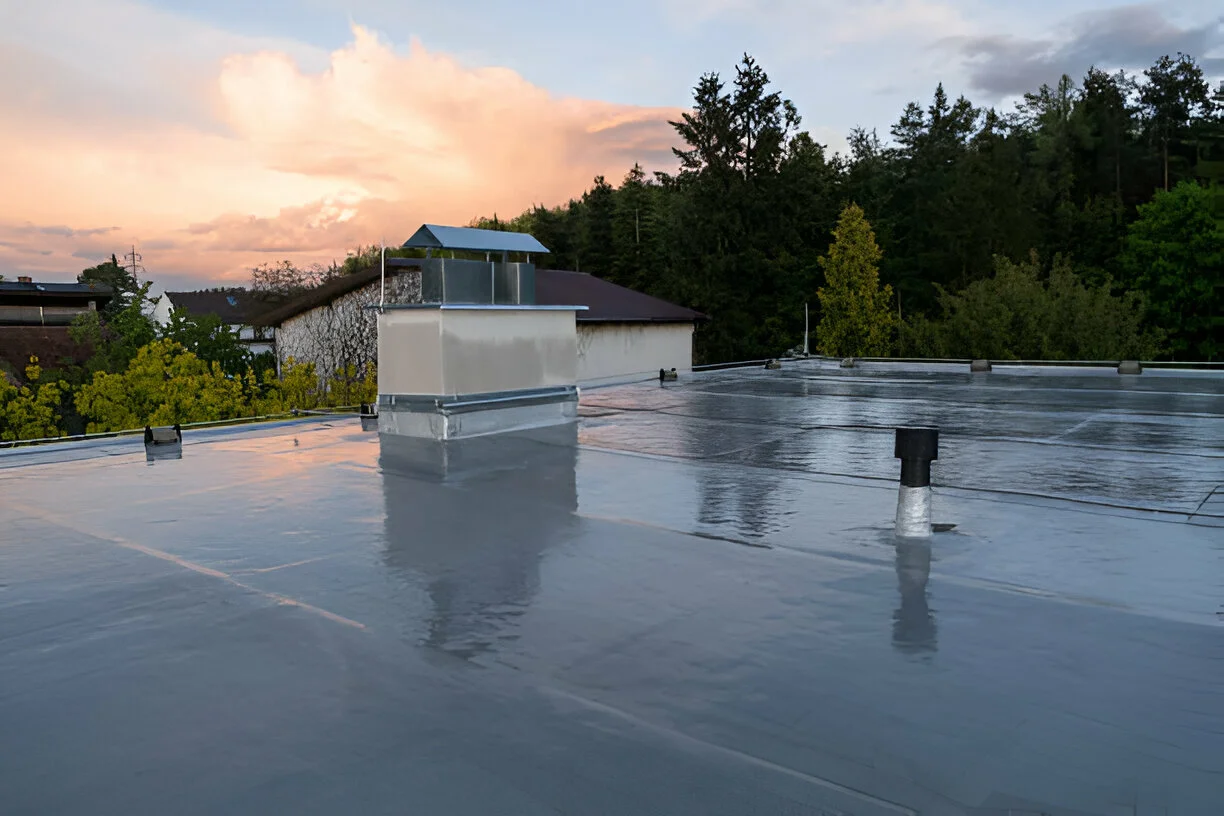
Roof Waterproofing and Flashing
Occupational maintenance work requires a focused approach
to roof waterproofing operations. Read the following alternative
list of roof waterproofing techniques:
Waterproof Membranes
To provide double protection builders should install waterproof
membranes underneath the roofing material. Additional
waterproof measures should be installed for regions that
experience frequent heavy precipitation.
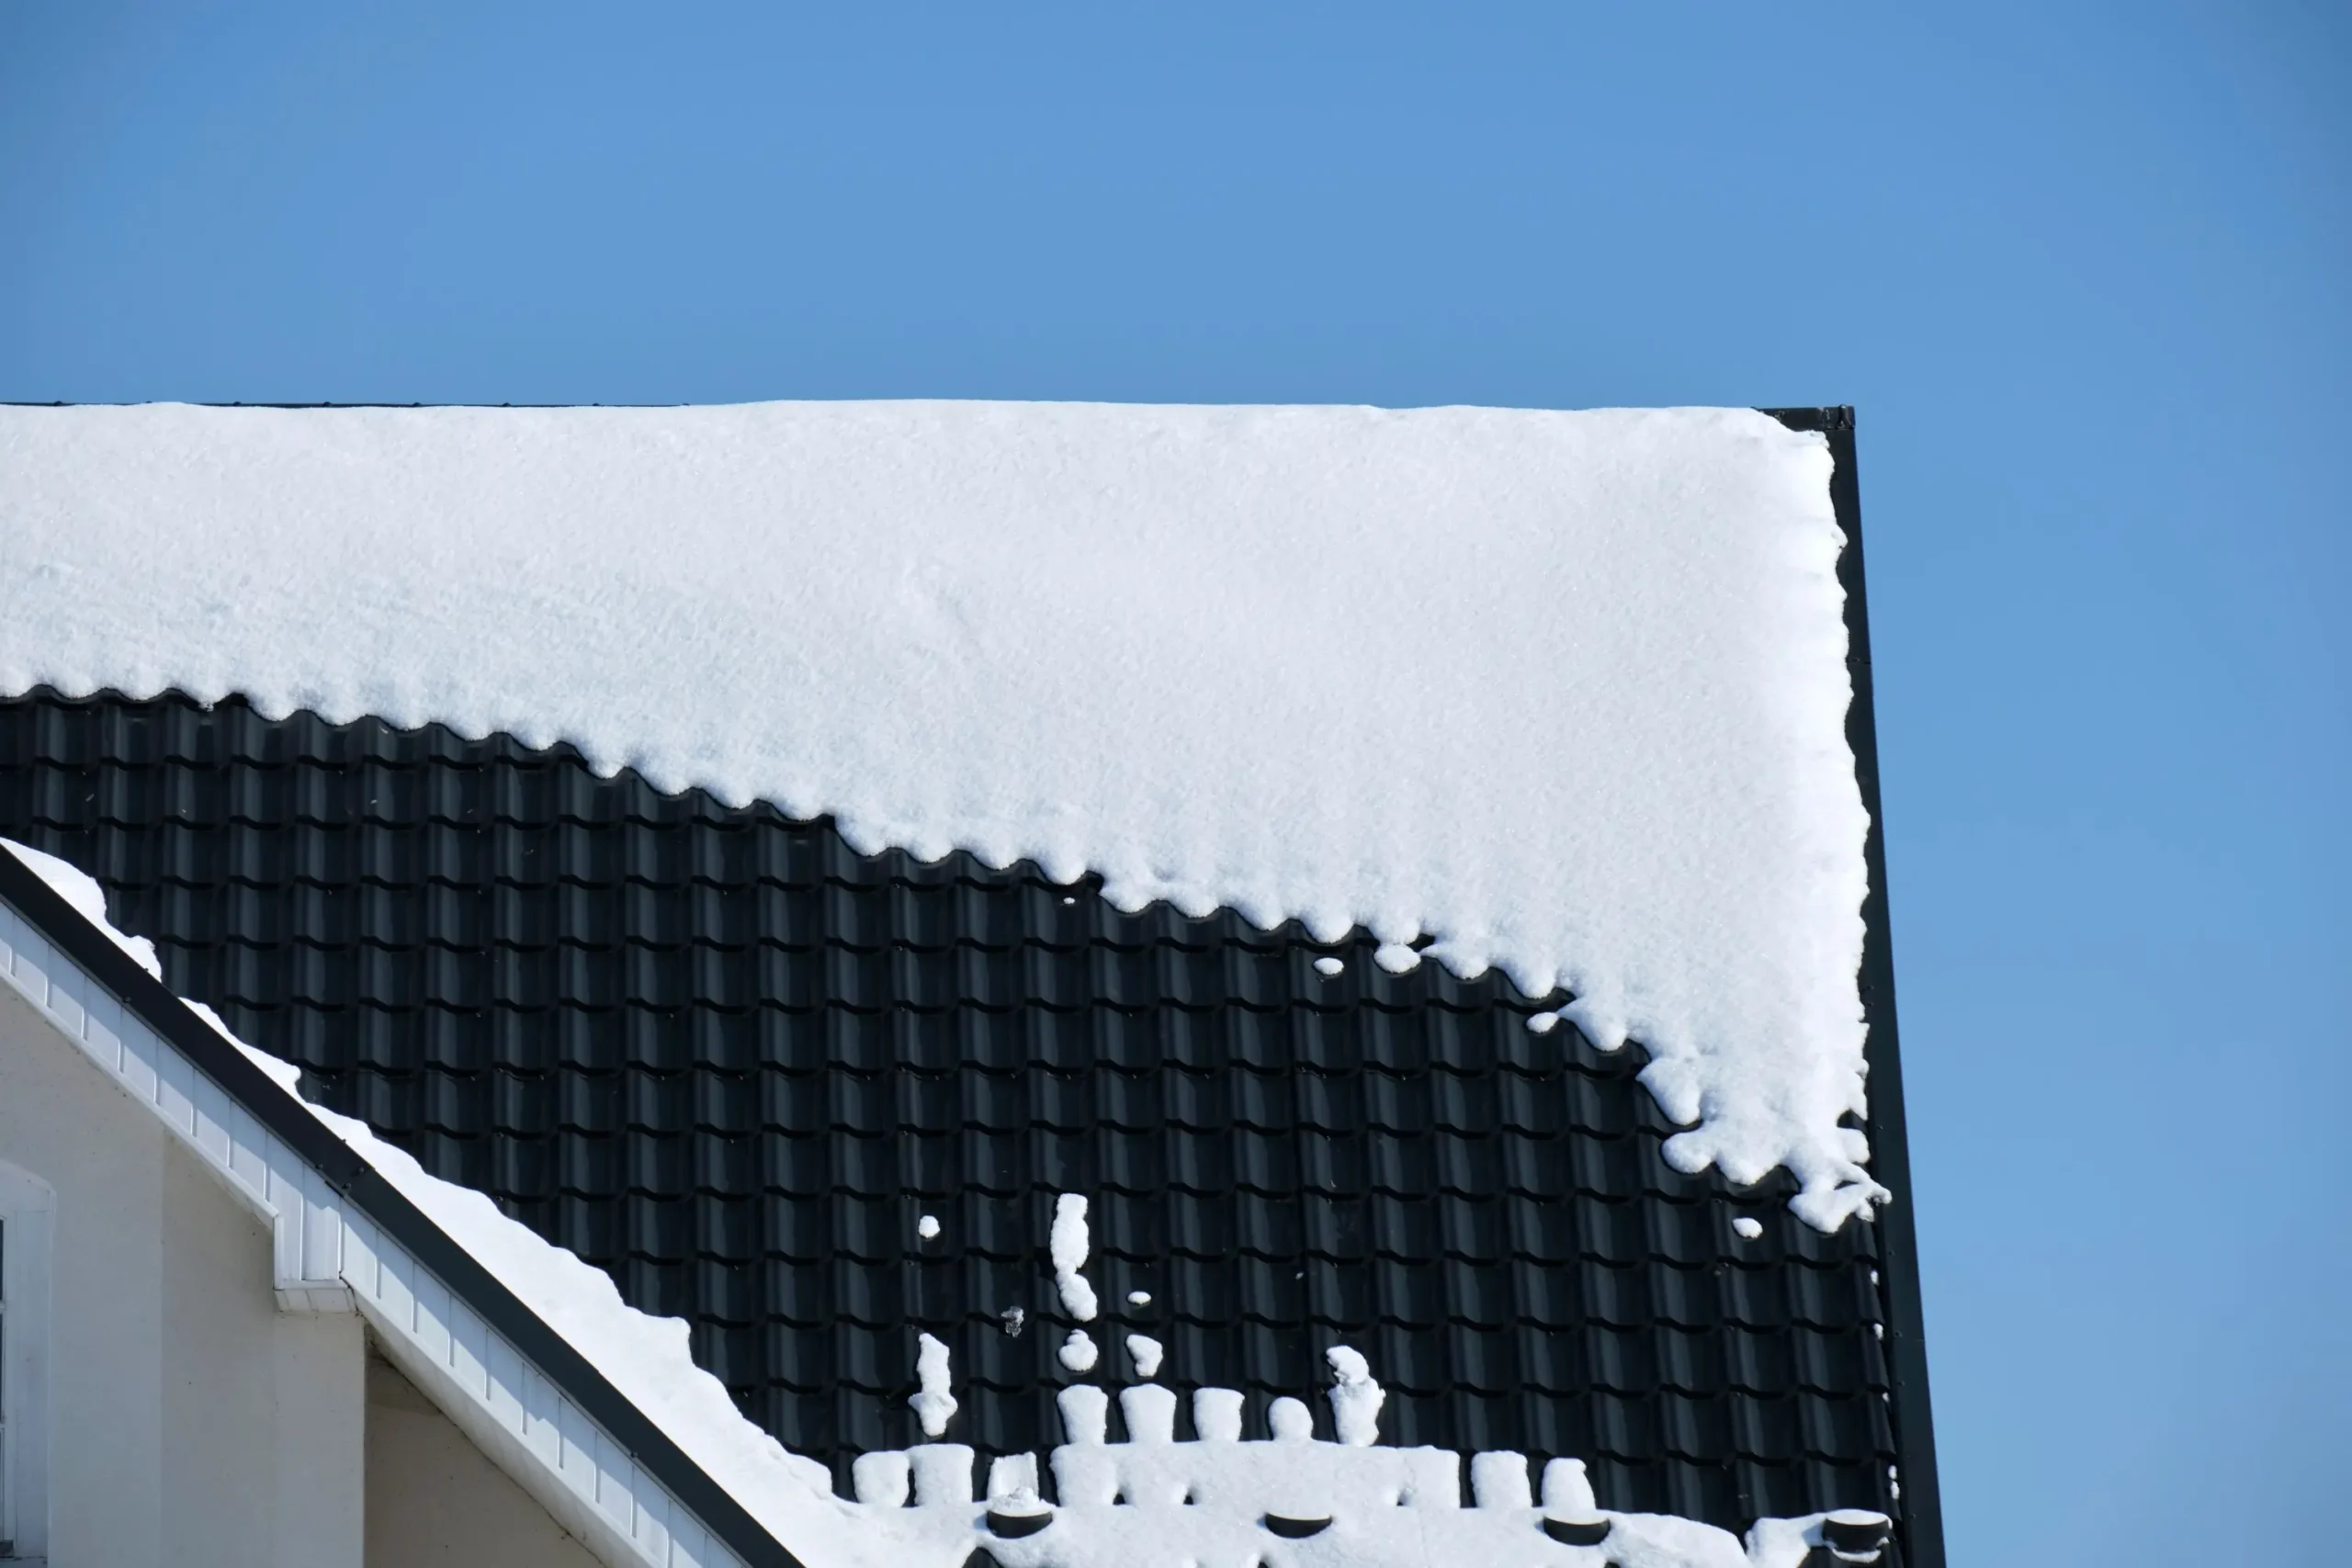
Seal Roof Valleys
The junction point of two roof slopes serves as a weak spot
because water accumulation occurs frequently on this roof
valleys.
Regular Inspections
You must check your roof structure for evidence of damage
including cracked tiles and compromised flashing every time
you inspect it.
Gutter Maintenance
Consistent cleaning of gutters should remove all debris. Water
that accumulates in clogged gutters poses the risk of entering
and leaking through the roofing material.
The Resolution of Typical Roof Flashing Problems with Solutions
Roof flashing suffers damage from both time and weather
elements as well as installation mistakes. Flashings encounter
various problems that require these solutions for resolution:
Rusting Flashing
Metal flashing tends to rust through regular exposure to water
droplets. You should either remove damaged flashing and then
put in new pieces or cover it with rust-resistant shielding materials.
Loose Flashing
The detachment of flashing from its base creates entry points
into the roof through which water can enter. Flashing needs to
be secured using roofing adhesive with nails.
Cracked Flashing
Flashing becomes vulnerable to cracking because of thermal
expansion together with aging and the effects of impact.

Key Takeaways
Proper roof flashing plays a vital role because it stops water
damage while extending the lifespan of roofs. Using suitable
flashing methods in combination with premium materials and
correct installation practices safeguards your house from
water-based property damage costs.
Your feedback is important to us! Please share your opinion if this blog was useful.